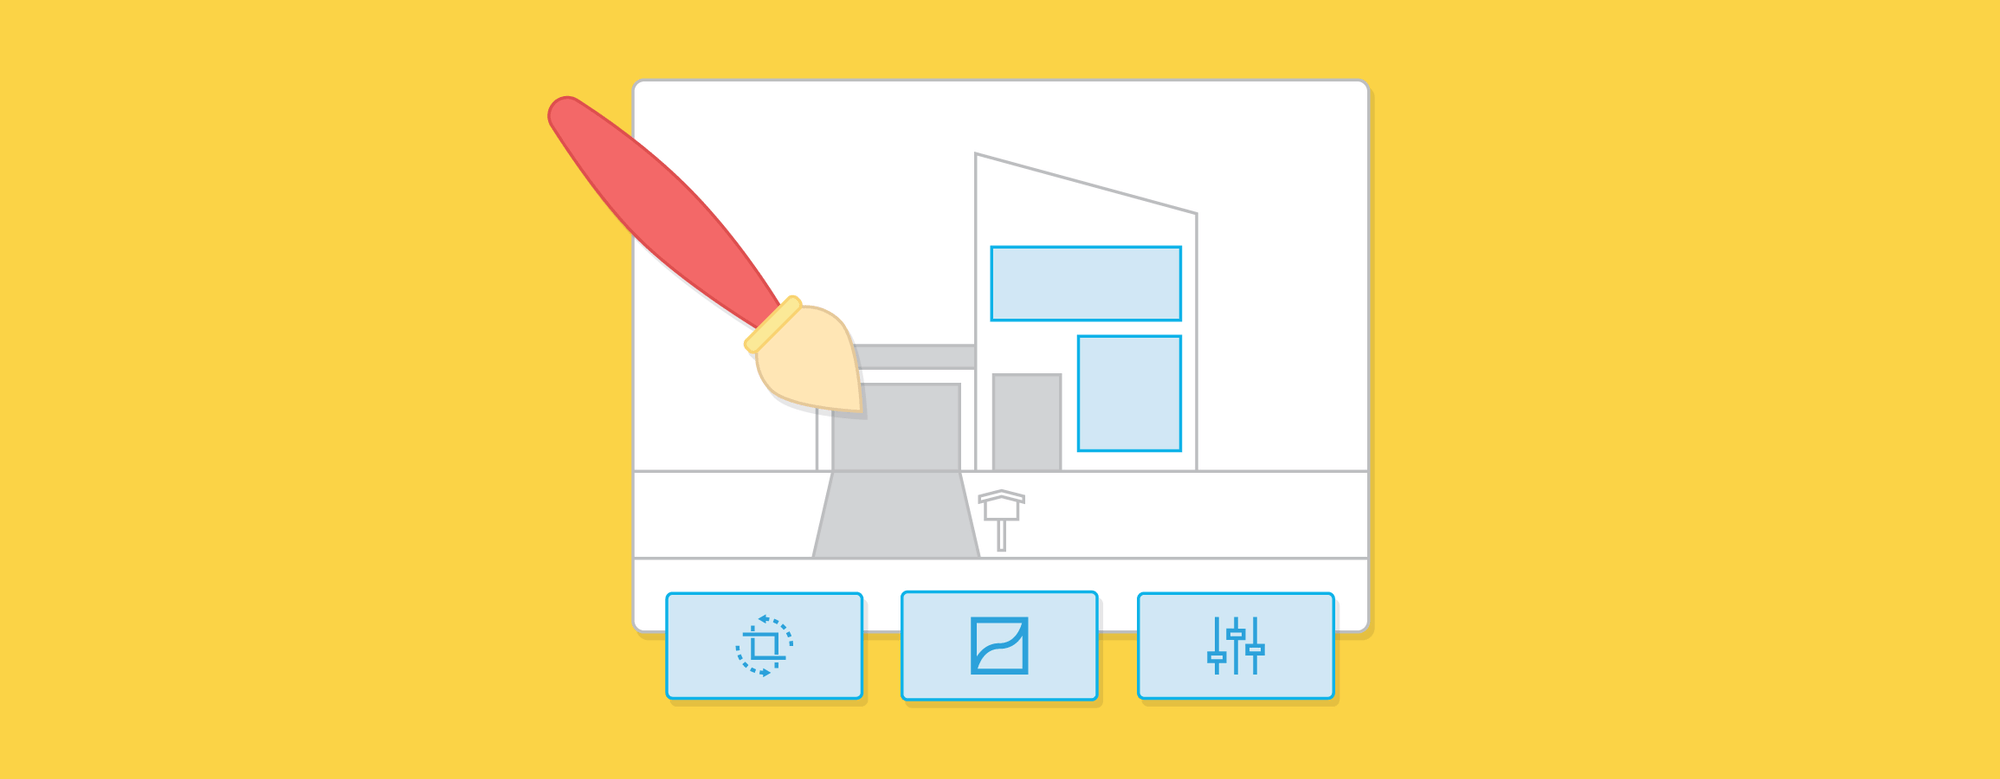
Feature release: simple, streamlined listing image editing


Exciting news! You’ll no longer need an external program for all your basic image editing needs. We’ve developed a new listing image editor for Rex to make your life as simple and streamlined as possible. It’s no secret that good listing photos are the key to getting buyers through the door; homes with high quality photography sell 32 per cent faster than homes without. Some images are good to start with, but with a little bit of finessing they could be great. Here’s how to do it within Rex.
Meet your new listing image editor
First, navigate to the listing record and upload your photos. Then, click edit image.
From here, you can either change the image size, add a filter, or edit the image. You can use one or more of these options, it’s up to you.
To transform
Click transform. Beneath your image, you’ll see options to:
- change the aspect ratio (the relationship between the width and height of the image)
- straighten your image,
- flip horizontally or vertically
- rotate your image.
It’s all very straightforward.
To add a filter
Which filter is your go-to: Juno, Clarendon, or perhaps Gingham? Even if you’re not a regular Instagrammer, we think you’ll appreciate this new image filtering functionality. A filter automatically adjusts your images in a particular manner. It’s a great way to make photos look like they’re part of the same set. Click filter to select a filter from the panel. Click All, and you can choose to only display filters from a specific category (eg. black and white, summer, or analogue). Once you’ve selected your filter, you can then adjust the intensity as you see fit using the slider above the filters panel. We’d recommend keeping your edits subtle so your photos look natural. The difference is subtle, but this filter helps make the image pop by brightening the white roof and tiles and cooling down the colours.
To manually adjust
All the usual adjustments are available for you to play with: brightness, contrast, exposure and saturation. There are also a few advanced controls you might not be familiar with: clarity to adjust the sharpness of your photos and gamma for the luminance. As for the areas of your image that are too dark or light, there’s a shadows and highlights toggle. The easiest way to get your head around this is to jump fiddle with the adjustments. You’ll be an expert in no time. Once you’ve finished your edits, click Apply Changes to save them.
But first, you’ll need the Image Editor privilege
We’ve also introduced a new Image Editor privilege that can restrict the use of this functionality to selected users. We’d recommend using this if you’ve got a go-to editor in your office, so that only they can make changes. This should save your listing images from looking like they’ve come out of a comic book if this tool falls into the wrong hands. To grant a user with the privilege necessary to edit images within Rex, navigate to Users & Security, then Permission Groups. Add users to the Image Editor group.If you want to change stormy skies to blue ones or mask out the family pet that’s crept into your shots, you’ll have to use more advanced tools. However, for the simple stuff, the new listing image editor within Rex is all you need. If you have any questions or run into any problems on your editing journey, don’t hesitate to lodge a support ticket through Rex or contact support@rexsoftware.com.au.
